In this article:
Our hosted subscription forms can be shared anywhere. Grow your mailing list quickly by adding them to as many places as possible.
To share your form on your website, your social networks, like your Facebook page, or even in your email signature, simply grab its web address (URL) and add it as an hyperlink on text or a button.
You can also generate a QR code and add it on your stationery, posters or flyers.
Get your form link
To retrieve your form link, go to the menu and open the action menu by clicking the
Personalize the sharing of your form on social networks
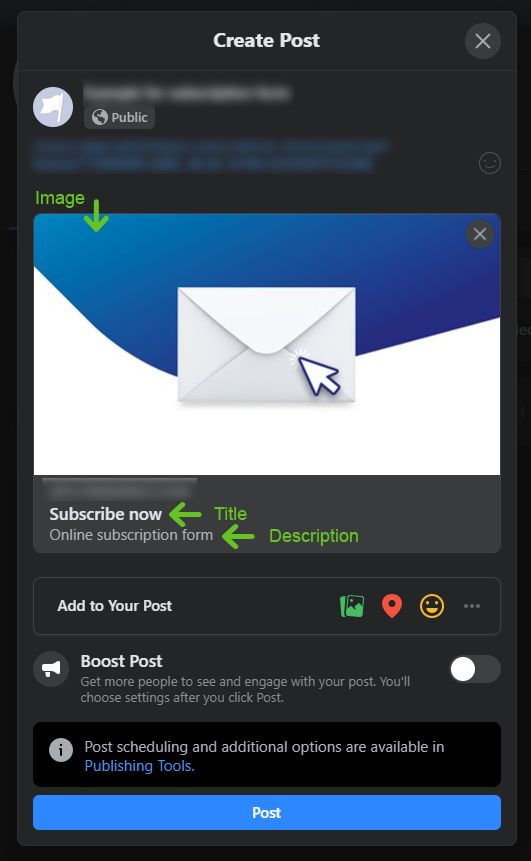
When you share a url on social media, the sharing tool reads your page to create the link that will be displayed. This link contains a title, a description and an image. Our subscription forms have default settings, but you can customize all of these if you wish.
Before starting
- This option is only available for hosted forms.
- To customize the image in your form’s preview and achieve the best possible result, follow these recommendations:
Recommended formats: PNG (8 or 24) or JPG (RBG)
Maximum file size: 5MB
Suggested size: 1200 x 630 pixels
Important: Position the most important elements in the center of your image. Note that depending on where and how the form is published, your image may be resized or cropped.
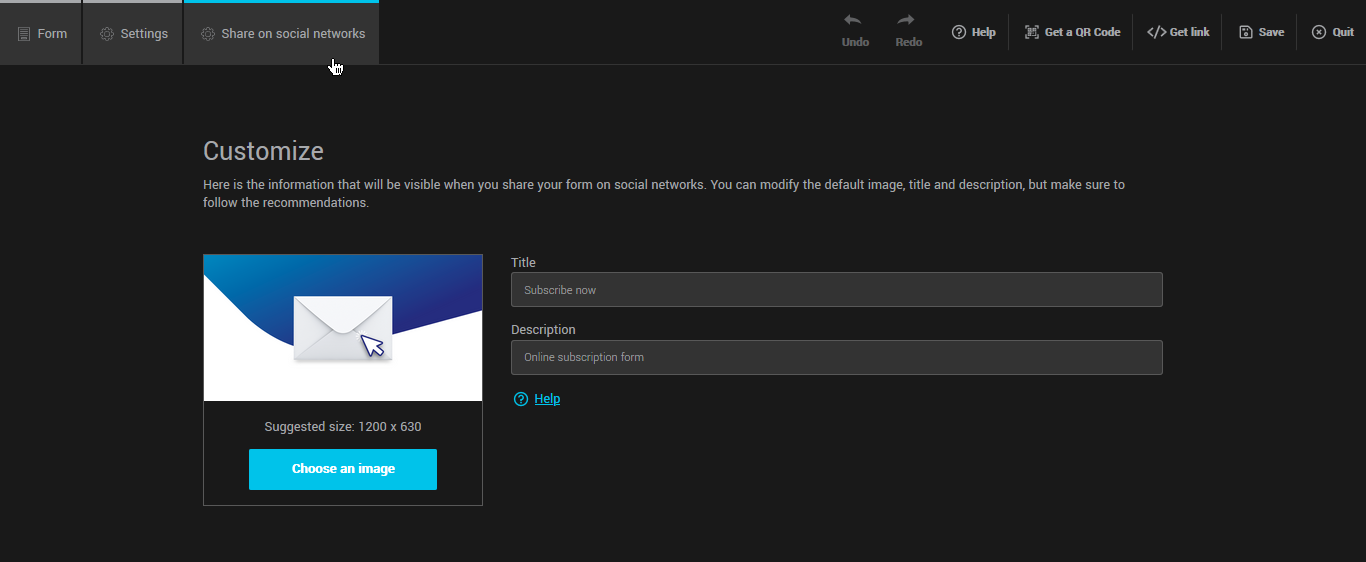
How to customize the sharing of a hosted form
- Go into your account and edit your form. Learn how >
- Open the Share on social networks tab at the top left of the editor.
- Enter a title for your form. Ideally, keep it short. If it’s too long, it may be truncated. We recommend 40 to 60 characters.
e.g.: Subscribe to our newsletters, Let's keep in touch, Join our VIP club, etc. - Enter a description (maximum length: 100 to 300 characters).
e.g.: Don’t miss any important information. Subscribe now and receive exclusive content every month, directly in your inbox. - Change, if need be, the default image to a custom image. To do so, click the Choose an image button.
Read our recommendations here > - Test your form's preview before sharing it.
Test your form’s preview in your post
Before testing the form's preview in your social media post, you will first need to get your form’s link. Learn how >
- Copy the URL of your form.
- Log into your Facebook account and go to the following link: https://developers.facebook.com/tools/debug/.
- In the Sharing Debugger tab, paste your form’s link in the empty field.
- Click the Debug button. If your link has never been shared on Facebook before, you may need to click the Fetch new information button.
- Scroll down the search results to the Preview section and check your form's preview as it would appear in your post. If the form’s preview doesn’t reflect your latest changes, click the Scrape again button to refresh.
- Copy the URL of your form.
- Log into your Twitter account and go to the following link: https://cards-dev.twitter.com/validator.
- In the Card URL section, paste your form’s URL into the available field.
- Press the Preview card button.
- In the Card preview section, check how your form’s preview will look in your post.
- Copy the URL of your form.
- Make sure you’re logged into your Linkedin account and go to the following link: https://www.linkedin.com/post-inspector/.
- Paste your form’s link in the empty field and click the Inspect button.
- Check how your form’s preview will look in your post.
Generate a QR code for your hosted form
Do you have a store or a physical space to present your products and services? Display a QR code that your customers can scan to access your form. Whether it is to subscribe to your newsletter or participate in a contest, it is a method that gives immediate results.
- Go into your account and edit your form. Learn how >
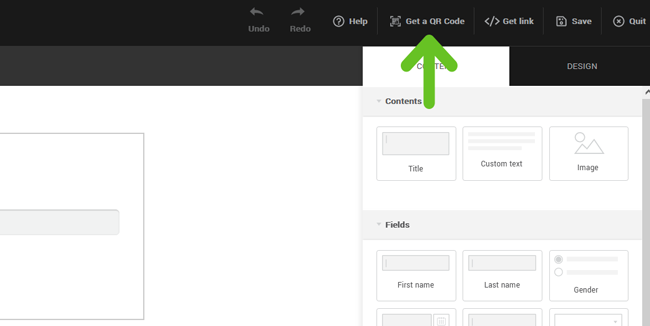
- Click on the Get a QR Code option at the top of the form editor.
- Select or enter the appropriate size. You can also choose with or without margin.
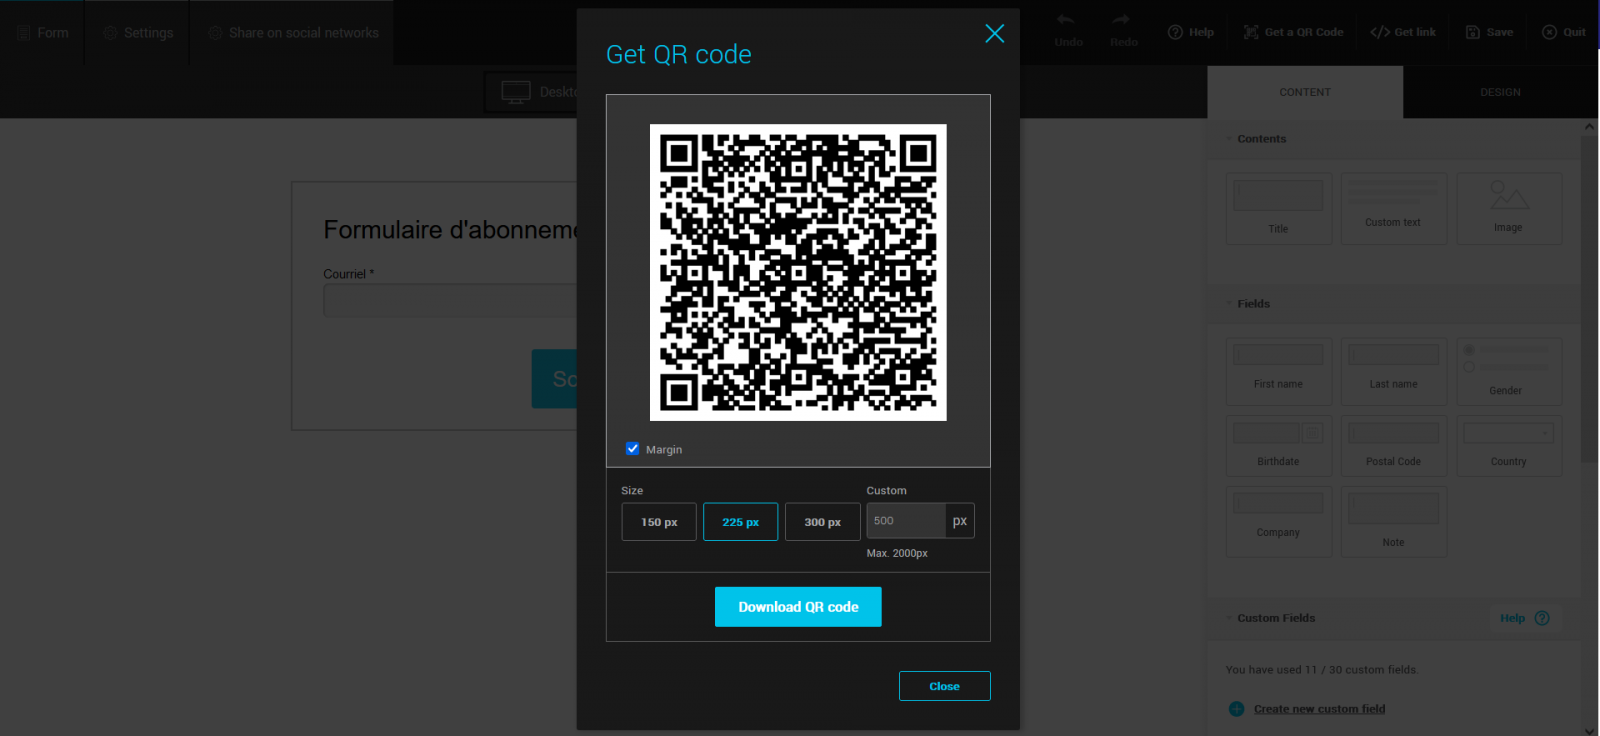
- Then, download the image of your QR code.