In this article:
How to create a subscription form step by step
- To build a new subscription form, go to the menu at the top of your screen
or, from the quick toolbar on your left, click the icon .
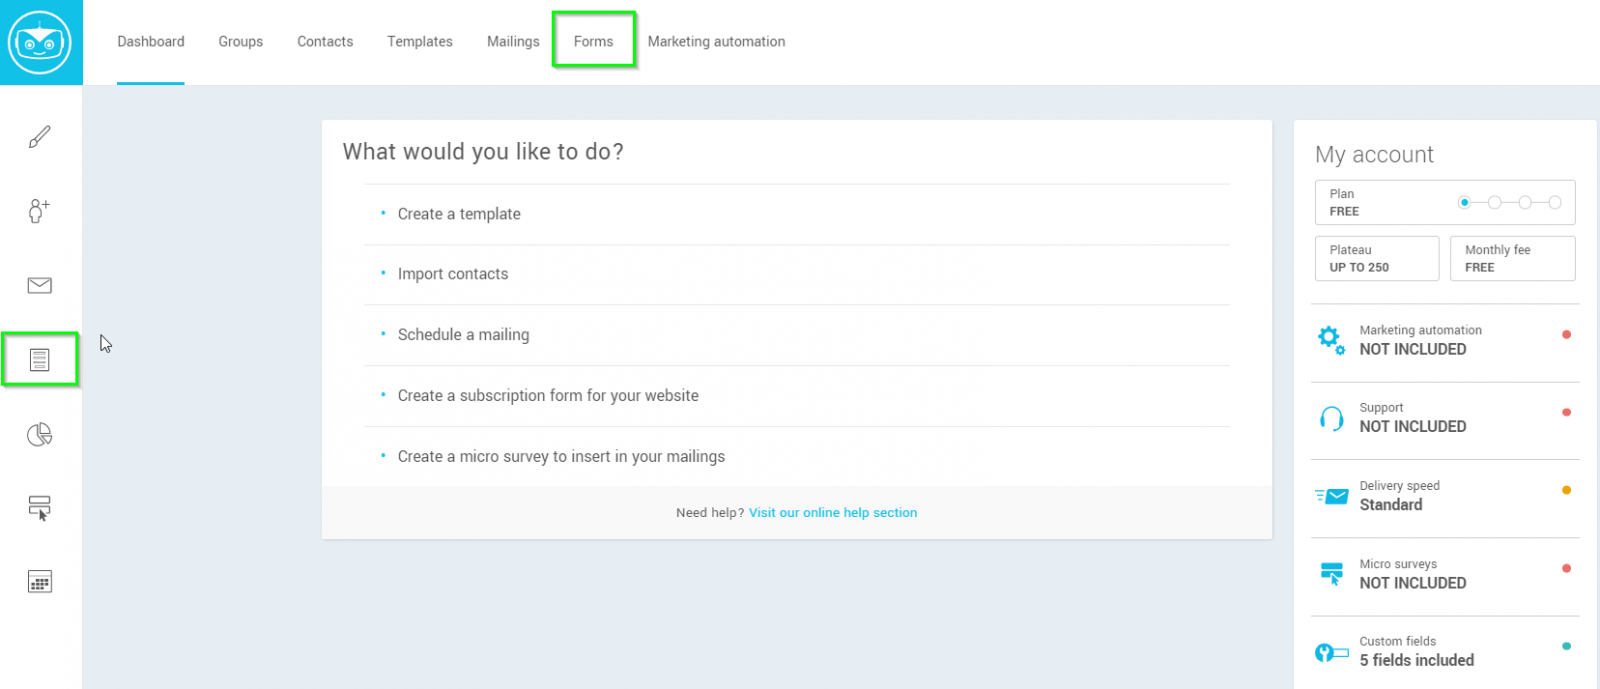
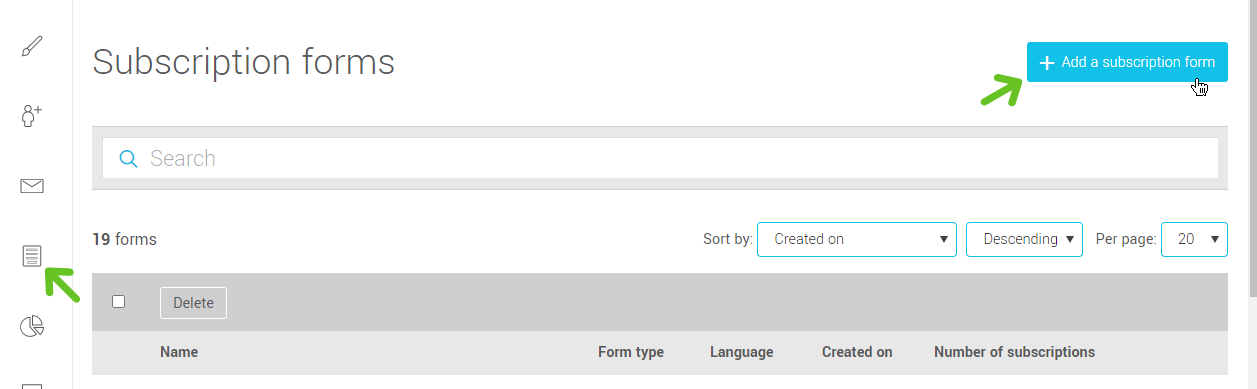
Once in the Subscription Forms section, click the + Add Subscription Form button at the top right to get started.
-
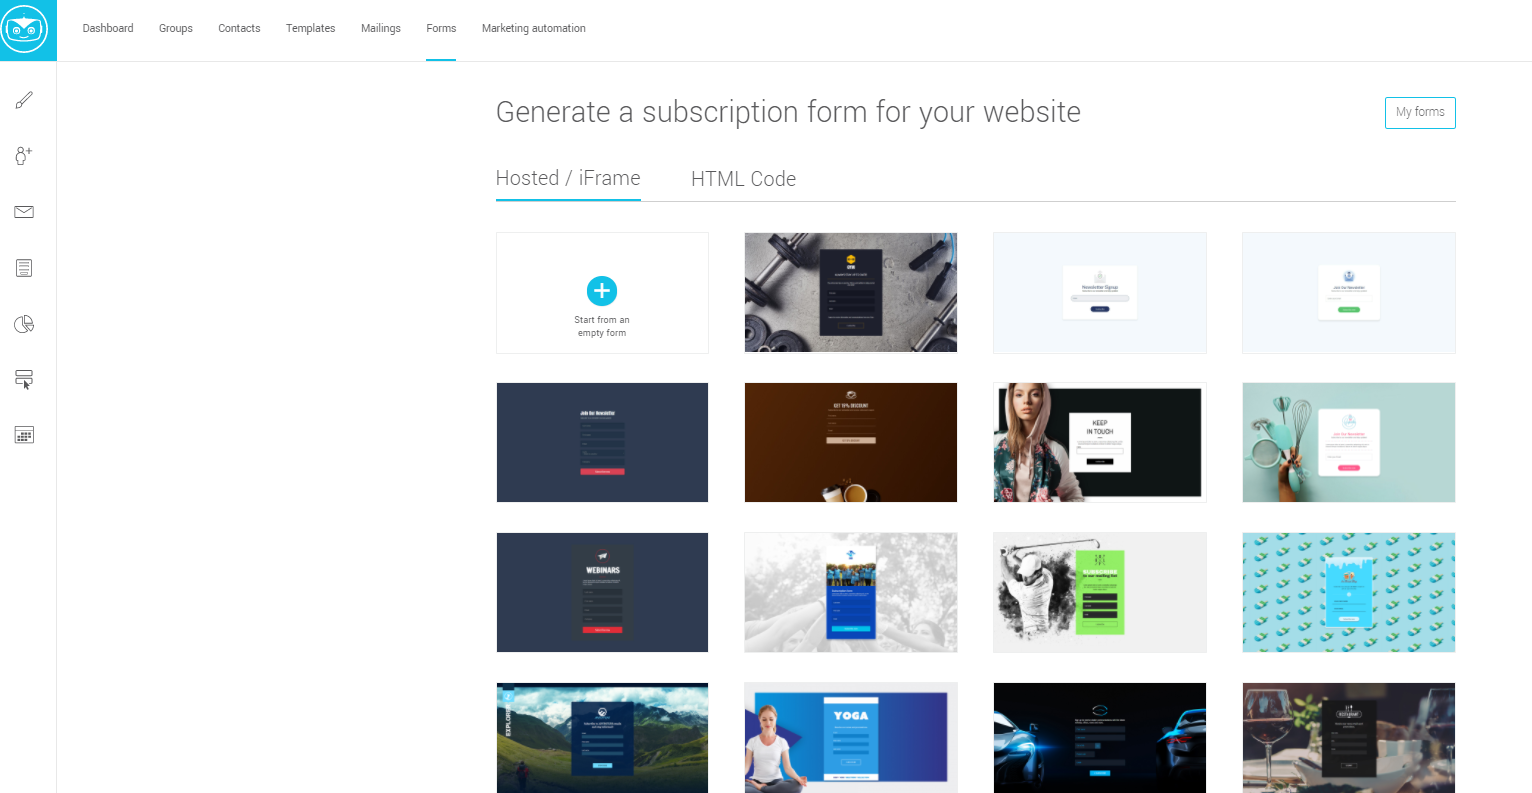
Select one of our form templates or start from a blank form.
-
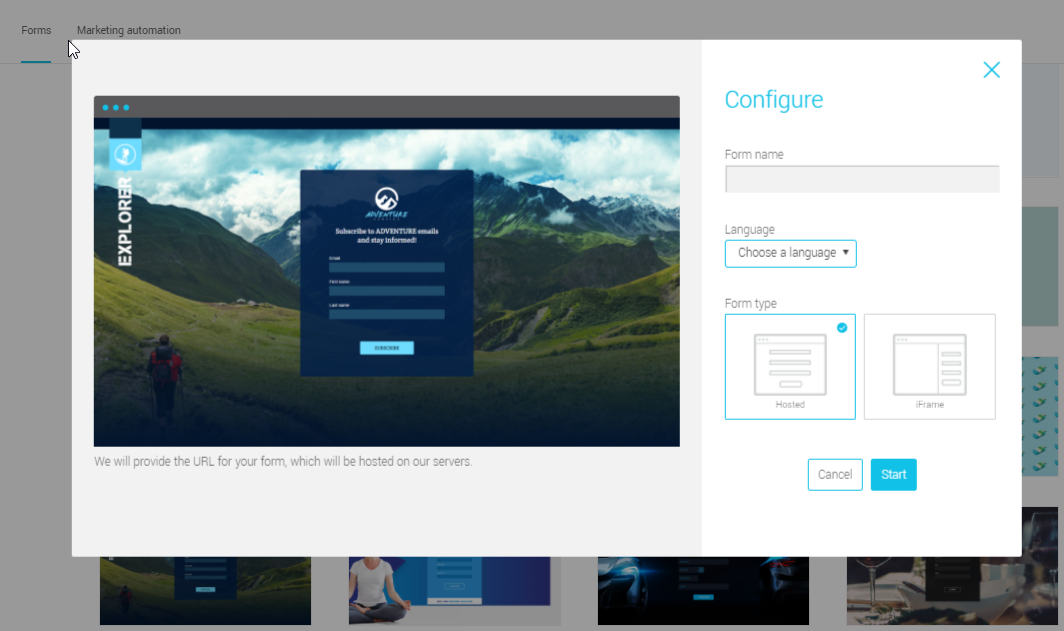
Click the Choose option on the selected form, a window will open asking you the name and language of your form. Select the form type and click Start to confirm. You’ll then be directed to the editor to customize it.
The name of your form is for your internal management only and will not be visible to your contacts. We suggest you give it a name that will help you know where it is used, for example: “Website registration - en” or “Facebook sharing form”.The language will determine the language of the form as well as the language of the contact who will subscribe. For example, if you choose English, all contacts who subscribe through this form will get this language in their profile and the system will automatically interact with them in that language for the rest of the subscription process.
In this tutorial, we will work from a hosted form. That being said, editing an iFrame form is very similar since it is done from the same editor and the same tools.
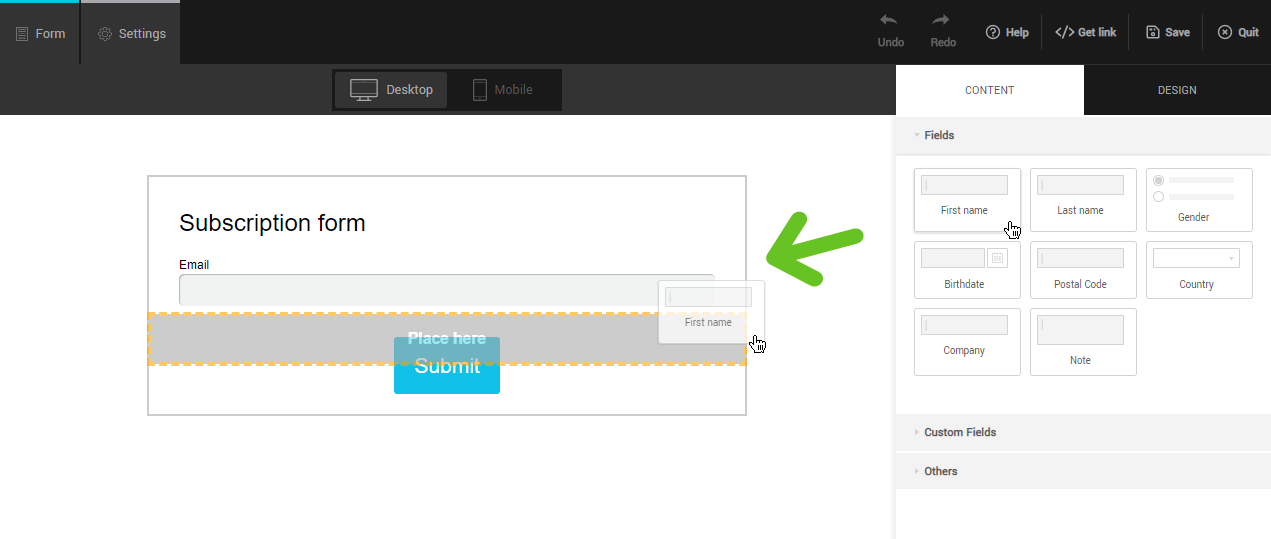
- Add additional fields to your form such as first and last name, for example, to collect more information about your subscriber. Ask for information that will help you personalize your mailings or segment your contacts.
To do this:
Go to the Content tab, located in the sidebar to your right. While keeping the left mouse button pressed, drag and drop the fields into the form. In addition to regular fields, you can also add custom fields.
To reorder the fields, hover your mouse over them in the form preview and drag them in the desired order.
To remove a field, hover your mouse over a field in the form preview area and click the trash icon to the right.
Be careful not to ask for more information than you need! If it takes too long to fill out your form, this may discourage some future subscribers.
Learn more >
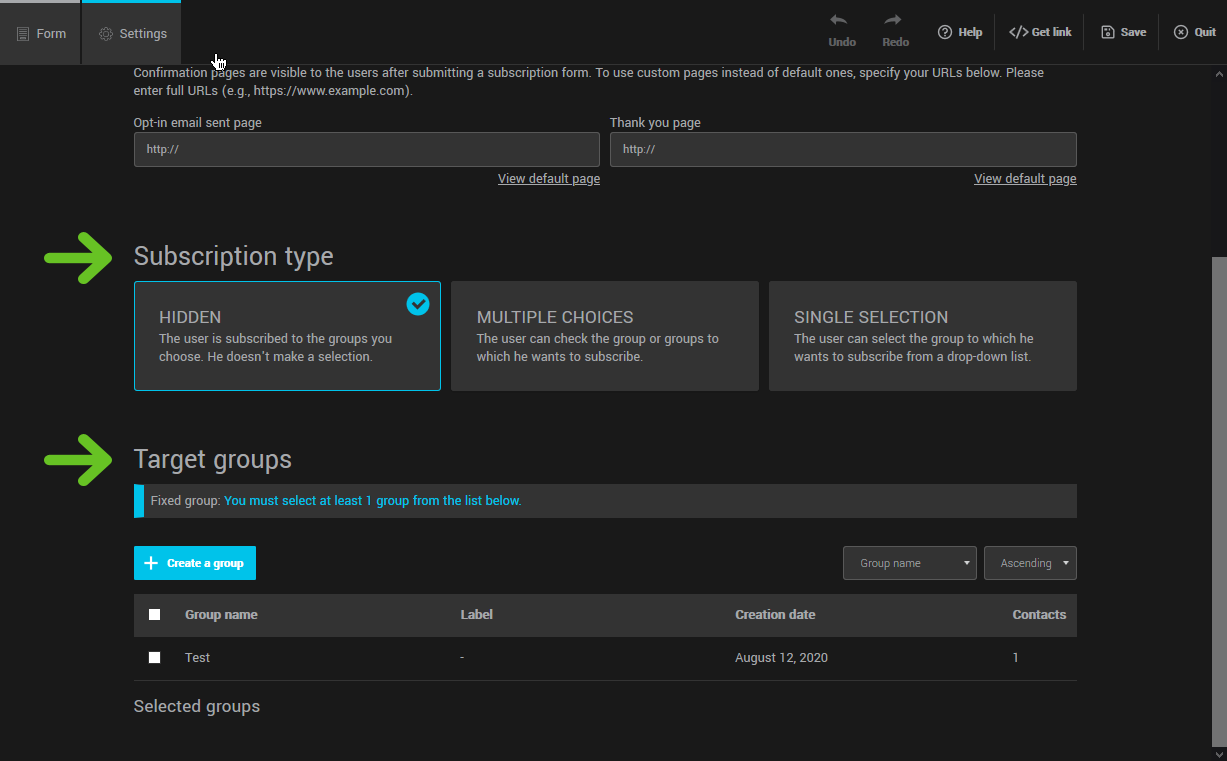
- Select the groups in which the contacts who subscribe to your form will be added.
To do this:- Go to the Settings tab, located at the top left of the form editor.
- Choose the subscription type. If you want your new subscribers to be able to choose by themselves in which group(s) they wish to register, choose Multiple choices (checkboxes) or Single selection (drop-down menu). If you don't want your subscribers to make a choice, select Hidden.
- In the Target groups section, select the groups to associate to your form and adjust their labels, if need be.
- Click the Forms tab at the top left of your screen to continue to edit the visual of your form.
If you choose Multiple choices or Single selection, the selected groups will be displayed visually in the form. You can change the order the groups appear on your form by following the instructions here.
Read our recommendations about types of subscriptions and target groups here >
- Modify your fields’ label and add, if need be, a placeholder text..
To do so:
Simply select the field to edit in the visual of your form. Then, go to the Content tab, located in the sidebar to your right, to change the label and add the placeholder text
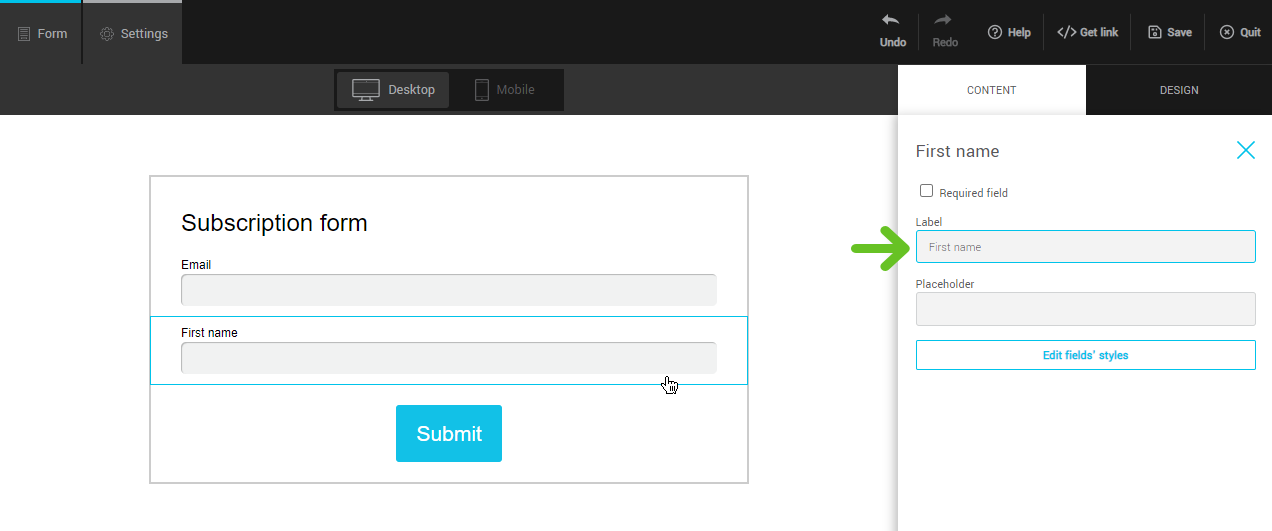
In fields with multiple choices of response, such as the Gender field or custom fields with radio buttons, dropdowns and checkboxes, you can also edit the label of the answers and add new ones (in custom fields only).
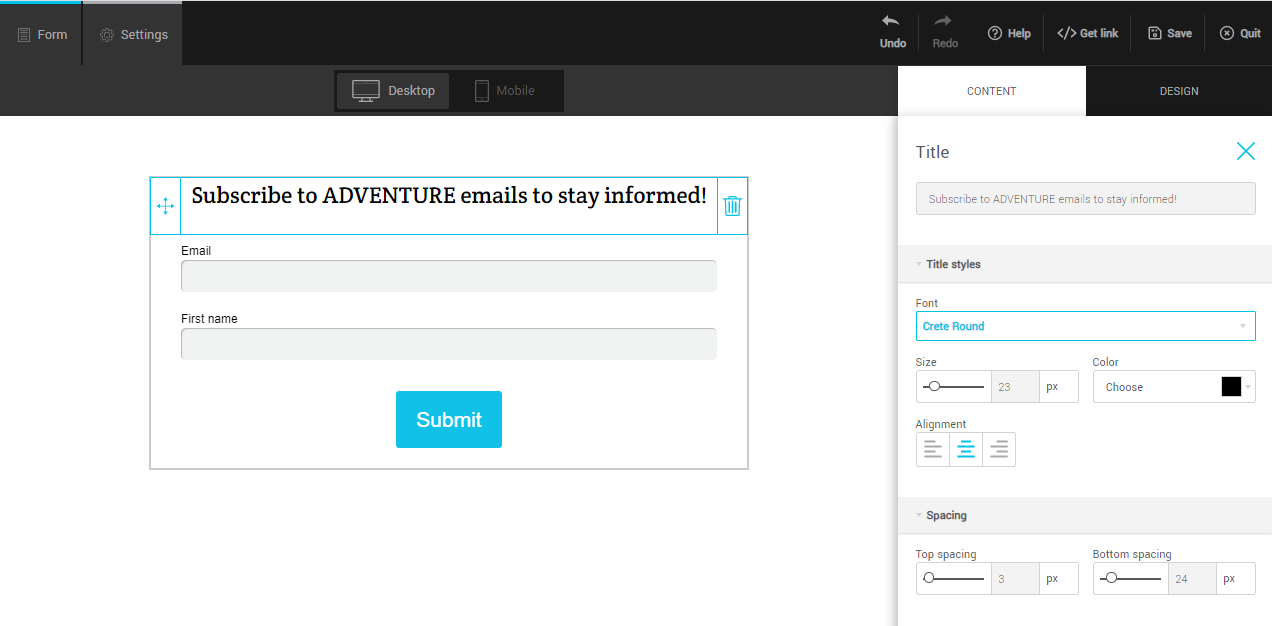
- Customize the title of your form and its style.
To do this:- Click the title in your form to select it.
- Go to the Content tab on your right.
- Edit the title.
- Click the Title styles panel to expand it and see the available options. You can adjust its font, size, color and alignment.
- Open the Spacing panel to add or remove space between your title and other elements of your form.
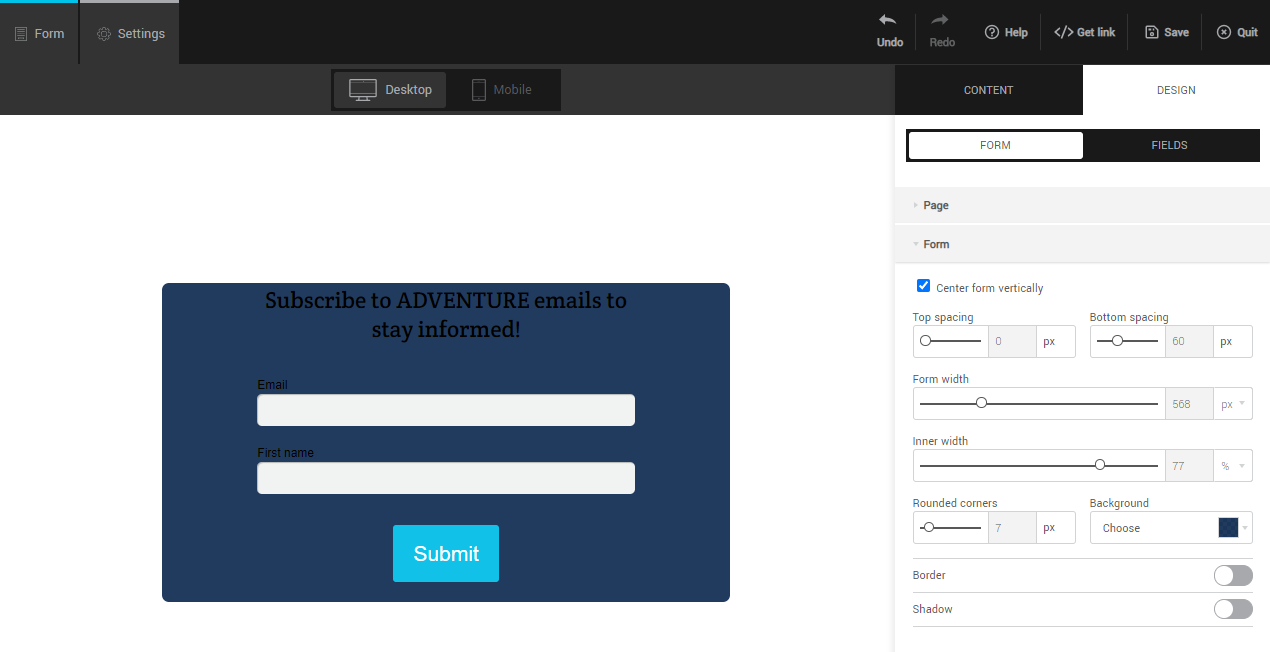
- Change the appearance of your form box (such as its background color and border).
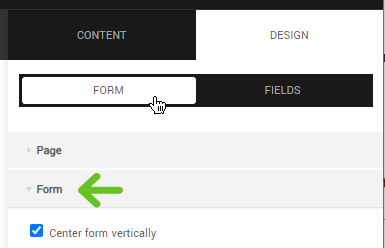
To do this:- Go to the Design tab in the sidebar on the right, then to the Form sub-tab.
- Click the Form panel to expand it and see the available options.
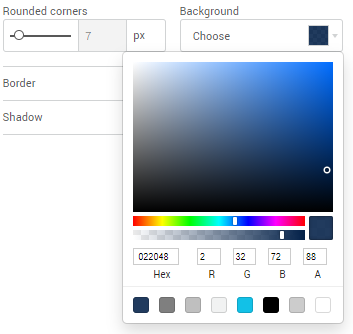
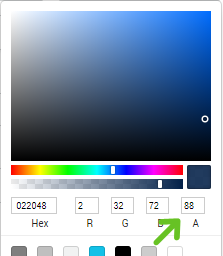
- Change the background color of the form using the color picker under the option of the same name. Pick a color by clicking somewhere in the different shades offered or enter a code, hexadecimal or RGB.
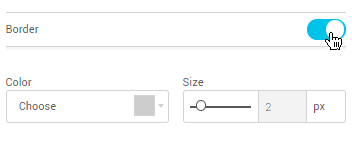
- Show or hide the border around the form box by turning the switch on /off. Change its color using the color picker and the line's thickness by moving the slider in the Size option.
- Be creative! Try different things and explore the multiple options available. You have full control over the visual of your form: center it vertically, adjust the spacing around your form and its dimensions, go for square or round corners, add shading... the possibilities are endless.
- Customize the fields’ style (e.g.: their appearance as well as the color, font and size of their text and labels).
To do this:- Go to the Design tab in the sidebar on your right, then open the Fields sub-tab.
- Click the field preview, in the Fields styles panel, to choose a predefined style.
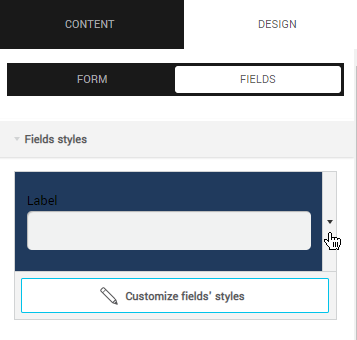
- Then, if needed, access the advanced options by clicking the Customize fields’ styles button to adjust items separately such as the label position, the roundness of the corners, the borders and the shadow.
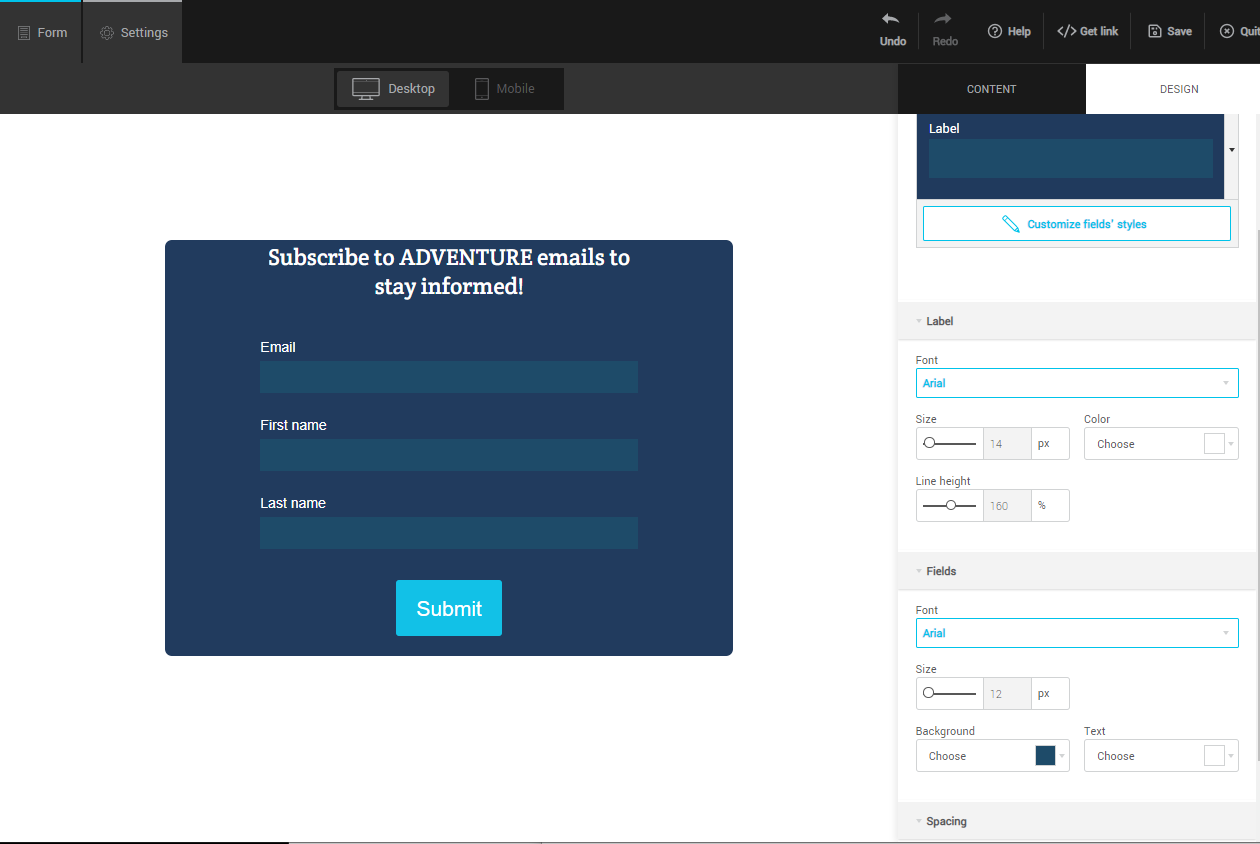
- Go to the Label and Fields panels to customize the text style (color, font and size).
- Go to the Fields panel to change the background color of the fields.
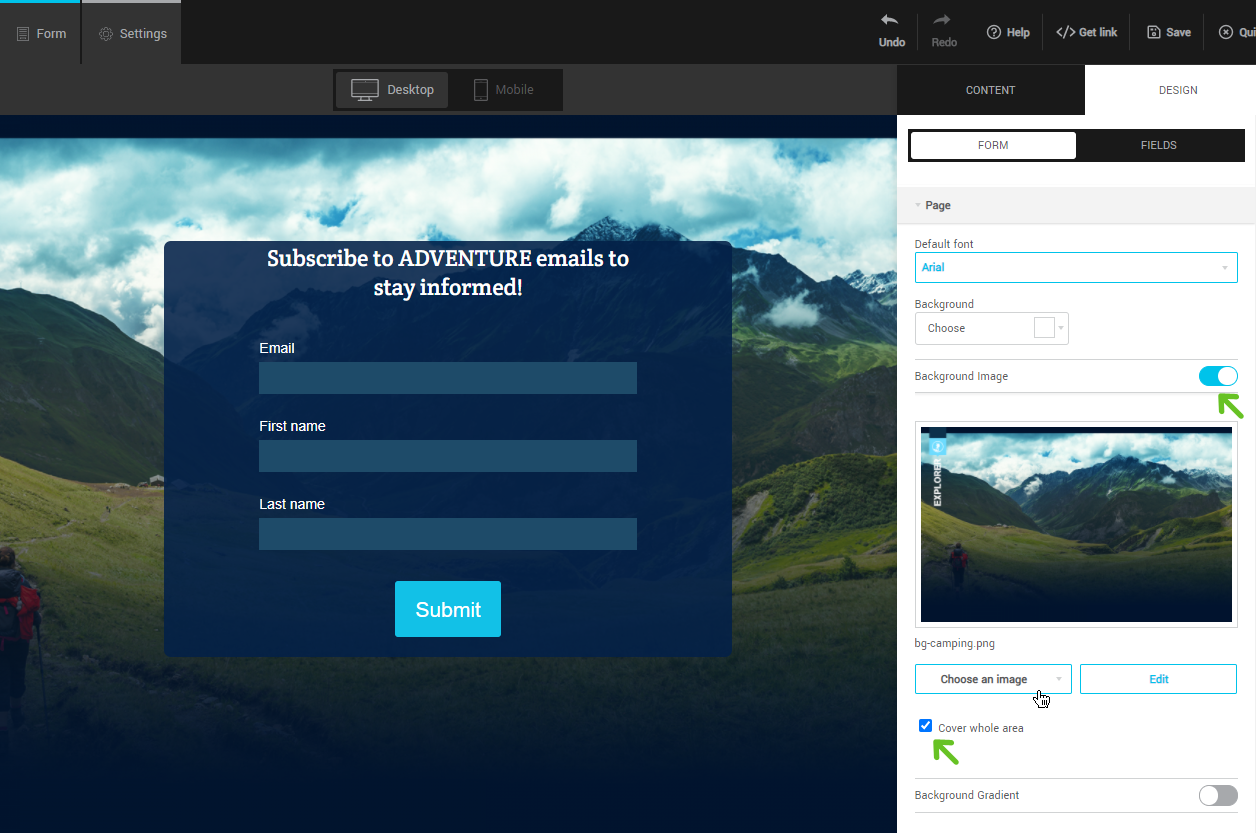
- Personalize the page behind your form by adding, for example, a background image
To do this:- Go to the Design tab in the sidebar on your right, then open the Form sub-tab.
- Activate the switch to the right of the Background Image option.
- Click the Choose an image button to select a picture. To use one of your own images, choose My images. If you don’t have one ready, select Image library and enter a keyword to find one that suits your needs. Images in the library are free of charge and copyrights.
By default, the image you chose will cover the whole page. Uncheck this option to make it a tile or change its size.
- Add your logo in your form.
To do this:- In the sidebar on your right, open the Content tab.
- Click the Others panel to expand it.
- While keeping the left mouse button pressed, drag and drop an Image element to the appropriate place in your form.
.png)
- Click the Image row in your form to select it.
- Click the Choose an image button in the sidebar, then choose My Images.
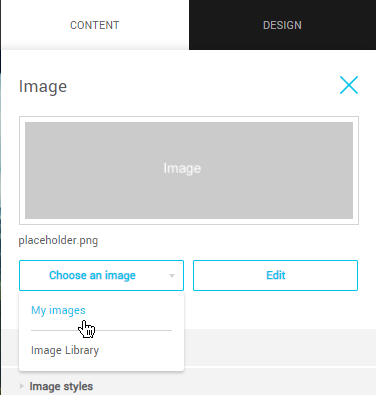
- If your logo is already in your account files, go to the next step. If it isn’t, to add it, click the Upload button located at the top left of the box. Browse your folders until you find your image, then double-click it to download it.
- Back in your Images folder, locate your logo preview and double-click it to add it to your form.
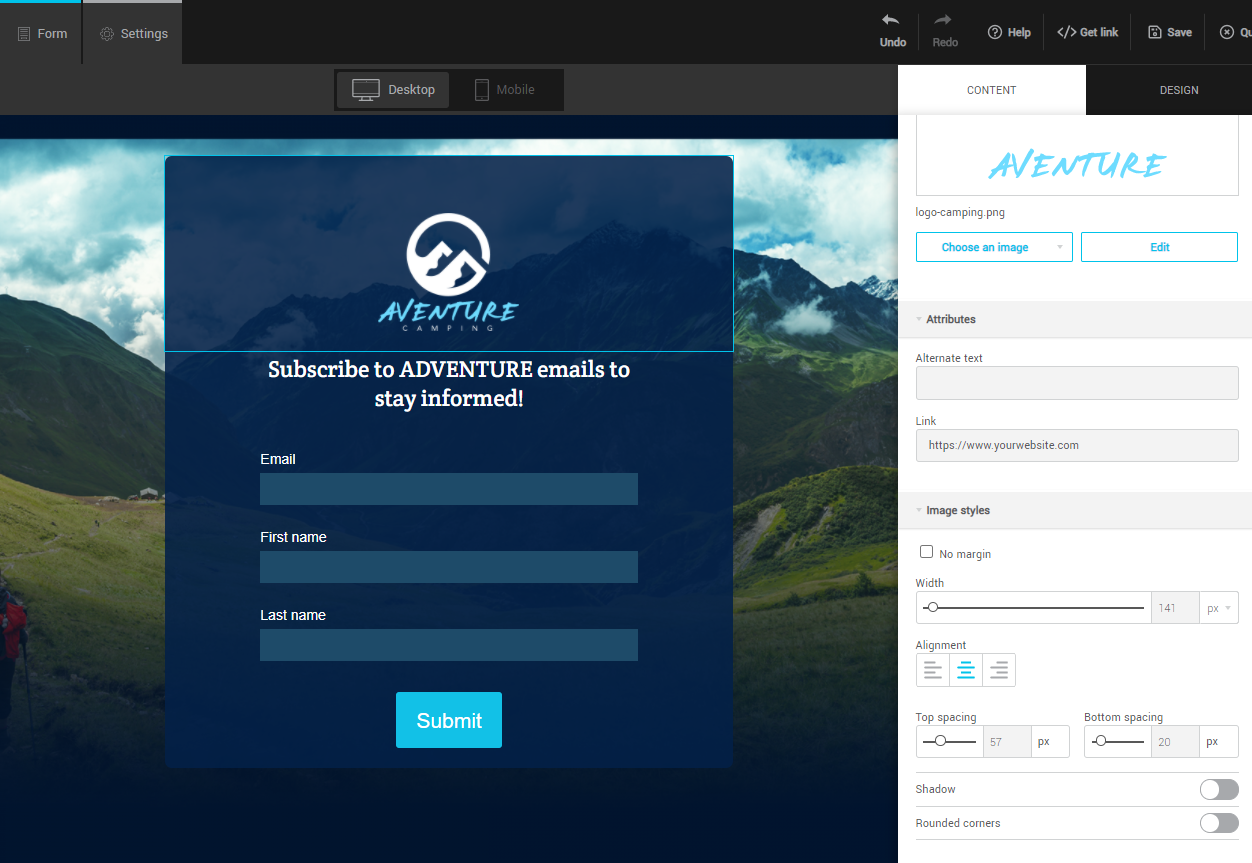
- Open the Image styles panel, in the sidebar, to change its dimensions, the top and bottom spacing as well as its alignment. You can also add a shadow or round corners.
- Go to the Attributes panel to add a link to your website on your logo.
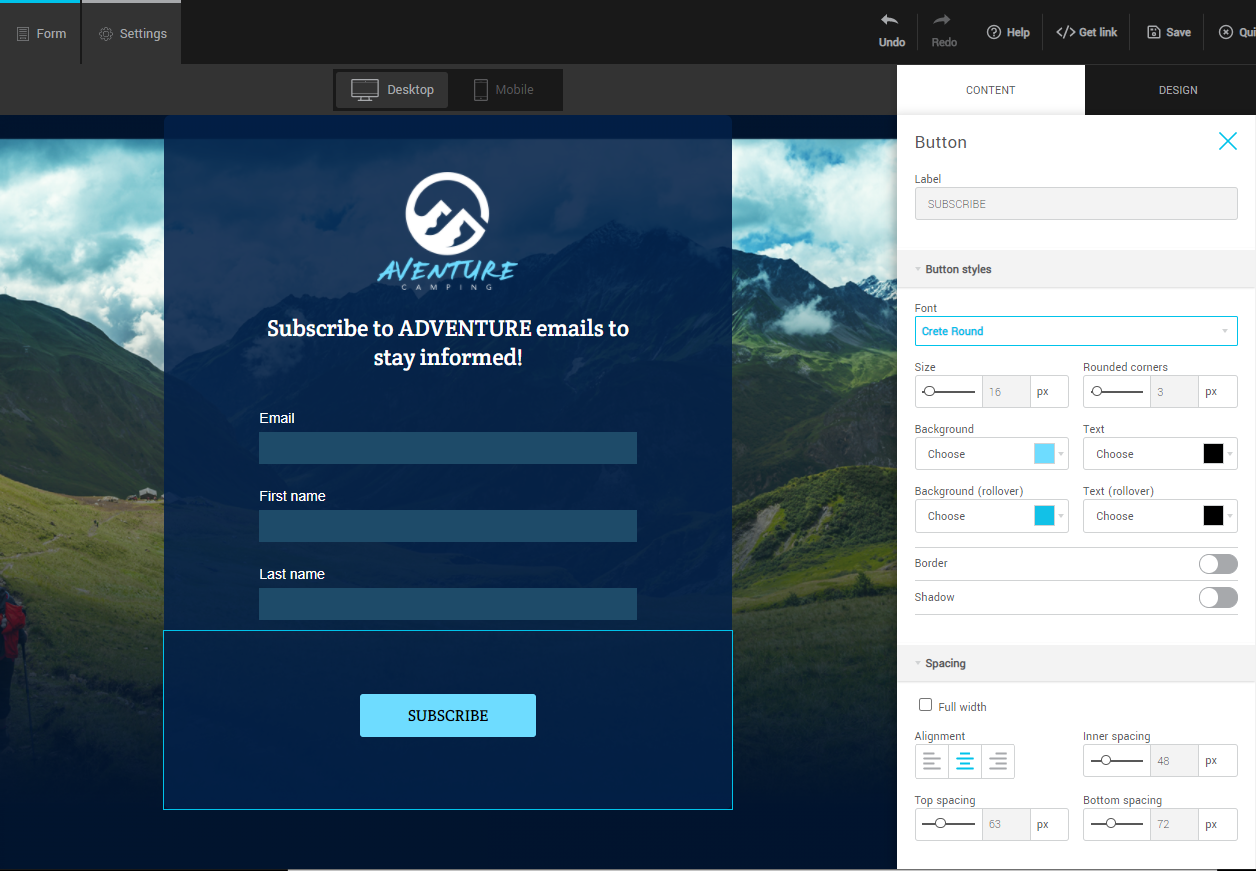
- Change the label of the button and customize its style.
To do this:- Click the button in your form to select it. Go to the Content tab to change its label.
- Open the Button styles panel to change the appearance of the button's text (font, size, and color) and its styles (rounded corner’s radius, background color, border and shadow).
- Go to the Spacing panel to change the button's dimensions and its alignment. The button can also have the same width as the form by checking the Full width option.
- Save your form by using the button at the top right of your screen.

- Get the form’s link (or code)
To do this:- Click the </> Get link (hosted form) or </> Get code (iFrame form) option.
- Copy the link or code that will appear in the new window.

- Test your form.
To test a hosted form: simply paste the form link into a new tab in your browser and fill out the form.
To test an iFrame form: paste your form code into the HTML of a test page on your website or copy and paste the form url (you’ll find it in the “src” attribute in your iFrame code) into a new tab in your browser.
Don't forget to confirm your subscription by clicking the button in the subscription confirmation email. Your email will be added to your subscription form’s groups only after that action is taken
Find out more tips on how to properly test your form here >
- Post your subscription form on your website and/or share it on your social media.
If you have created a hosted form, all you have to do is add the generated link to the different places where you want to share it (e.g .: on a subscription button on your website, on Facebook, in your email signature, etc.)
Need help integrating your iFrame form on your website? Read our tips here >
And you’re done!
Next step:
Examples of forms
Looking for inspiration? Here are some examples of hosted forms. Click their preview to view them full width.
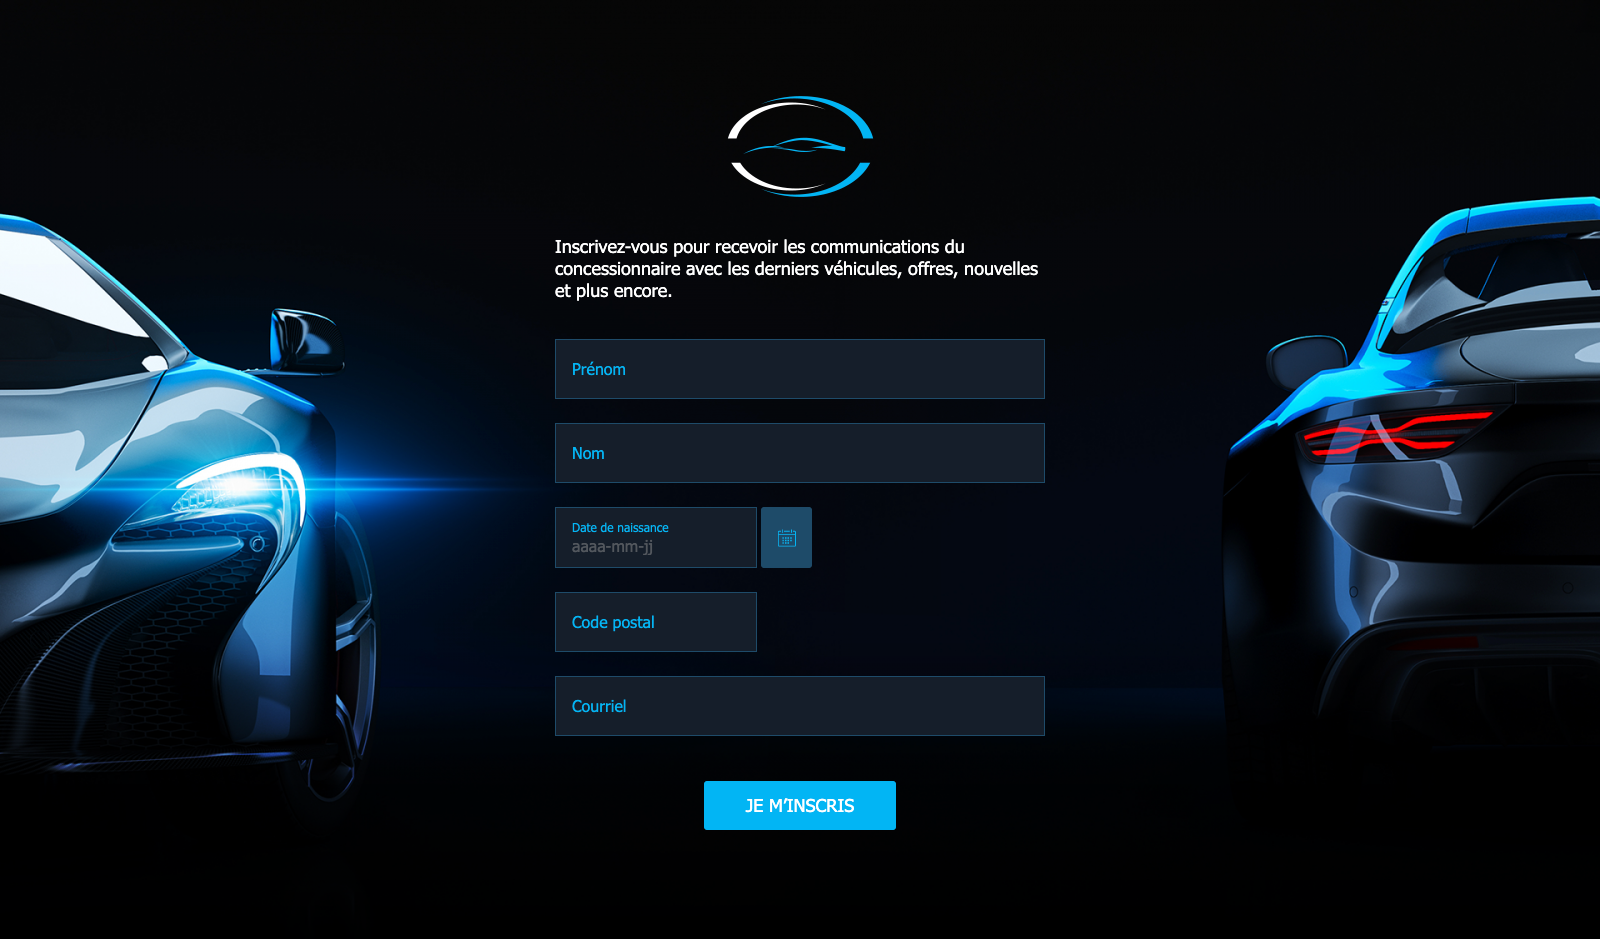 |
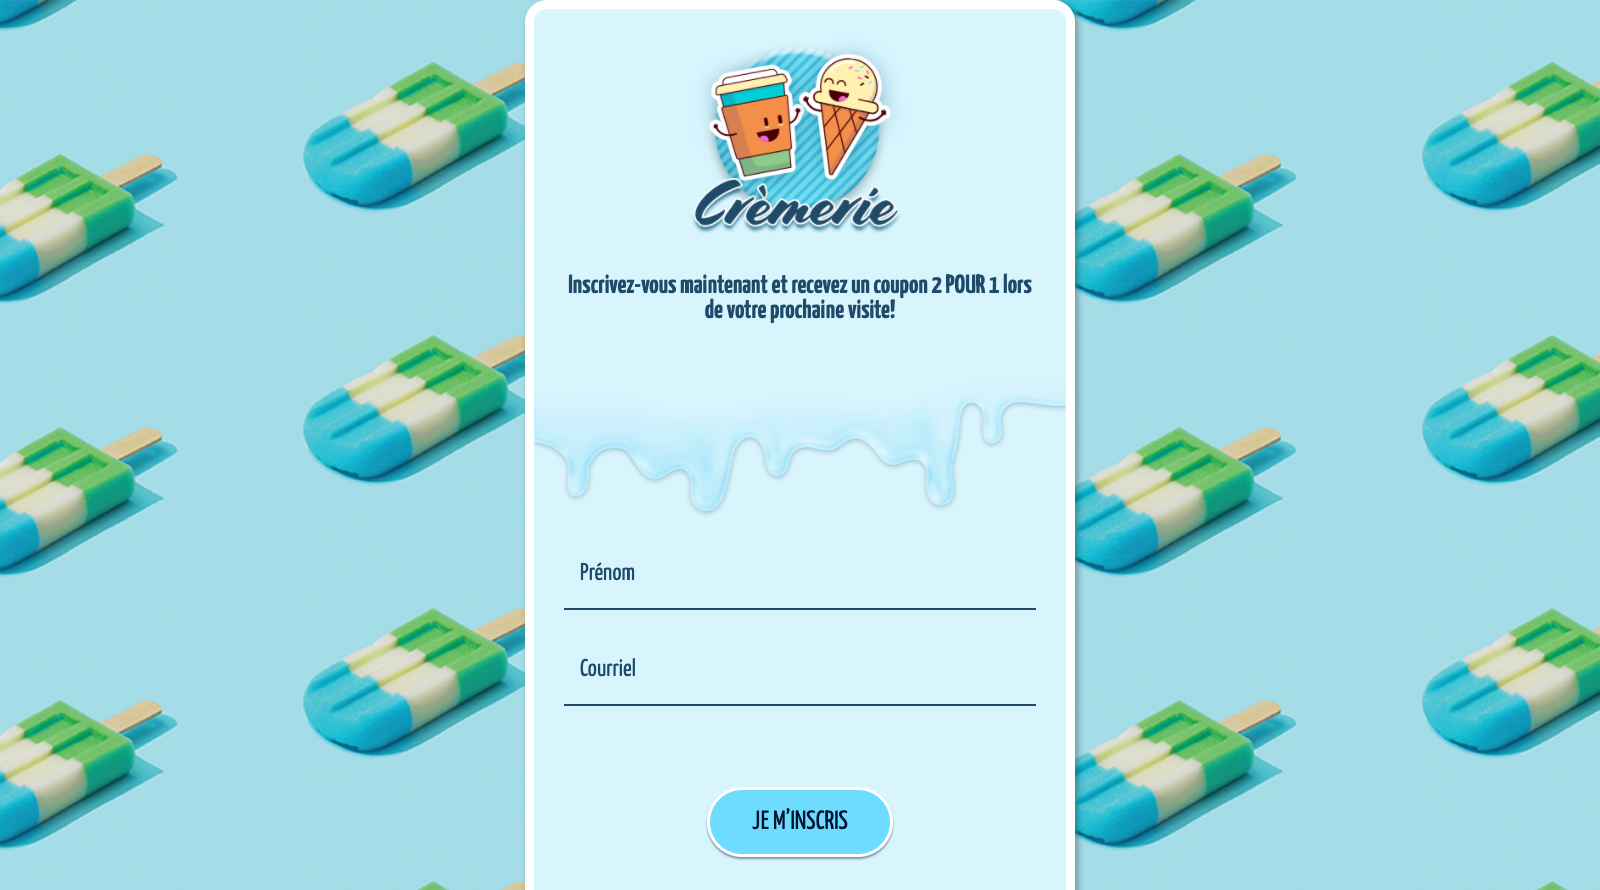 |
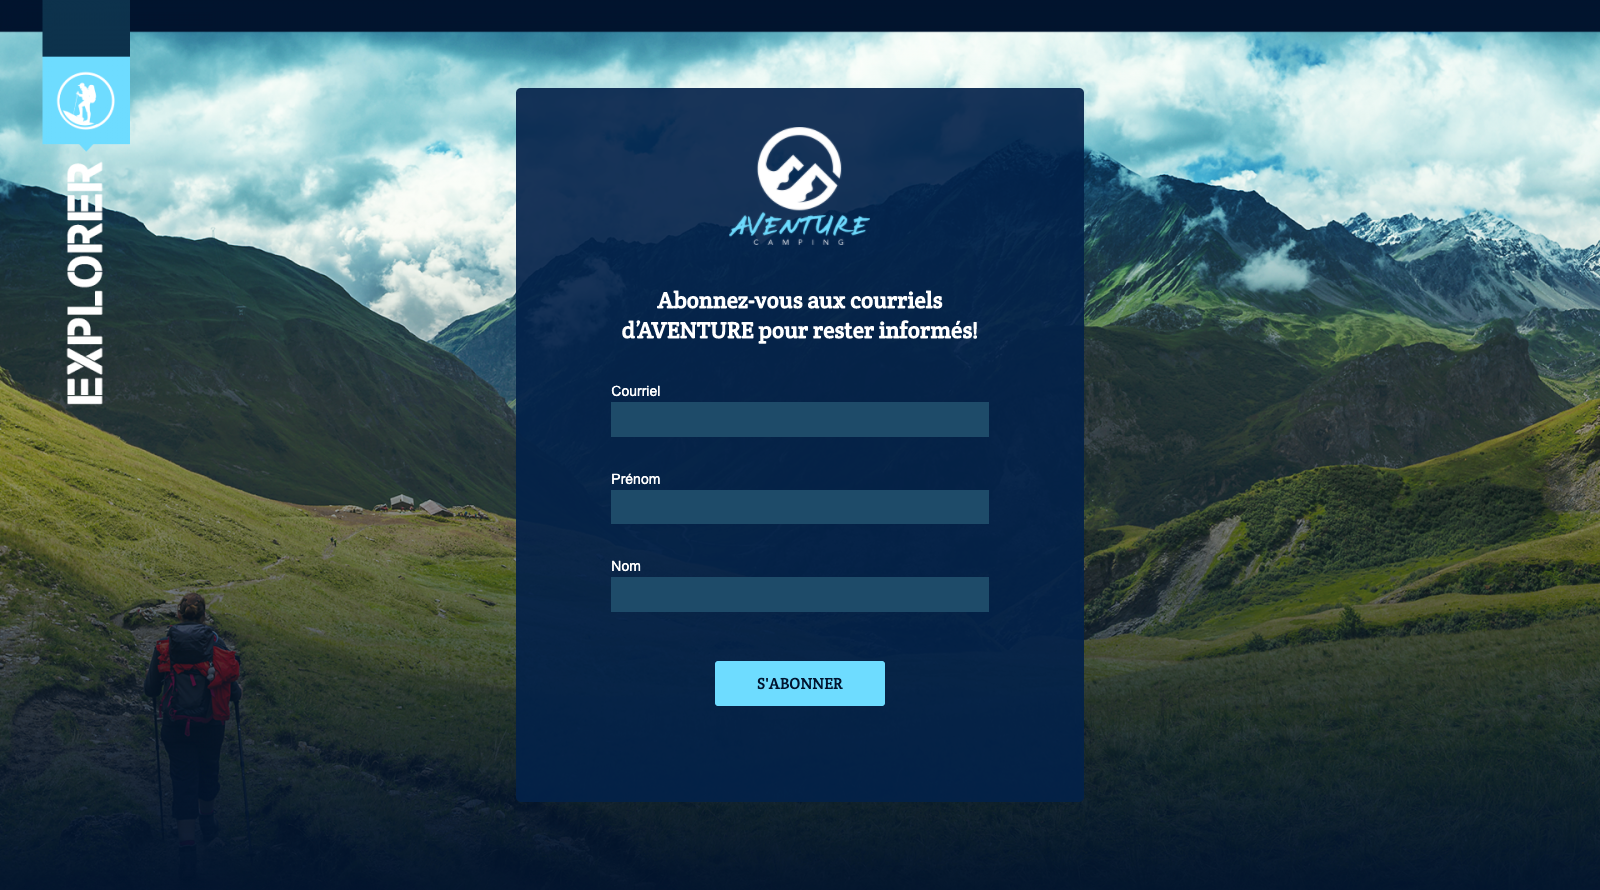 |